Windows 8 represents a fundamental shift in the way Windows works and is far more touchscreen-orientated for use on tablets as well as traditional PCs. This is why it is much less popular when compared to it’s predecessor, Windows 7. However Windows 8 is much faster and less resource intensive than Windows 7. This is one of the many reason to switch to Windows 8, however the modern UI is not for everyone and this is why it’s not as popular as Windows 7 or even it’s 15 years old brother Windows XP. So what if you love the speed and security of Windows 8, but miss the transparent look of Windows 7?
Here is how to make Windows 8 look exactly like Windows 7.
Make Windows 8/8.1 look like Windows
So are you ready to change the appearance of your copy of Windows 8 to the simple and classy look of Windows 7? Yes? Then let’s begin.
First you have to go here. Download the file named “Windows Tools” and then extract it somewhere on your desktop. You’ll need WinRAR to extract it, which you can download from here.
You’ll find these files in the folder you just downloaded.

Now let’s make our Windows 8 more cool.
1: Bring Start Menu Back
First of all we’ll bring back the ever coveted Start Menu, to do this just run the file named “StartIsBack+”.
![]()
Just run the setup and install it, after that Restart your PC, then you should have Start Menu.
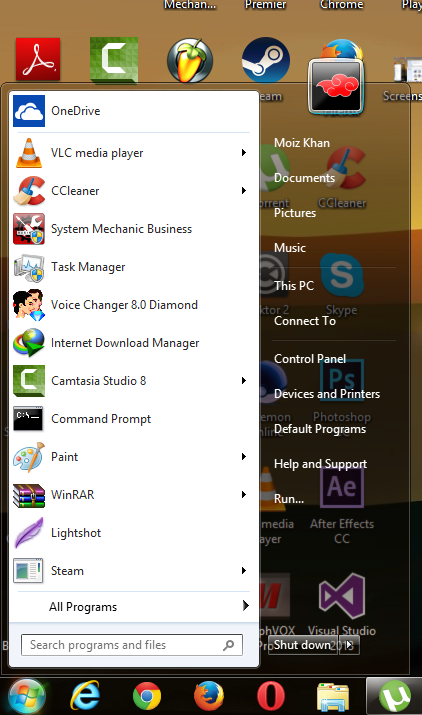
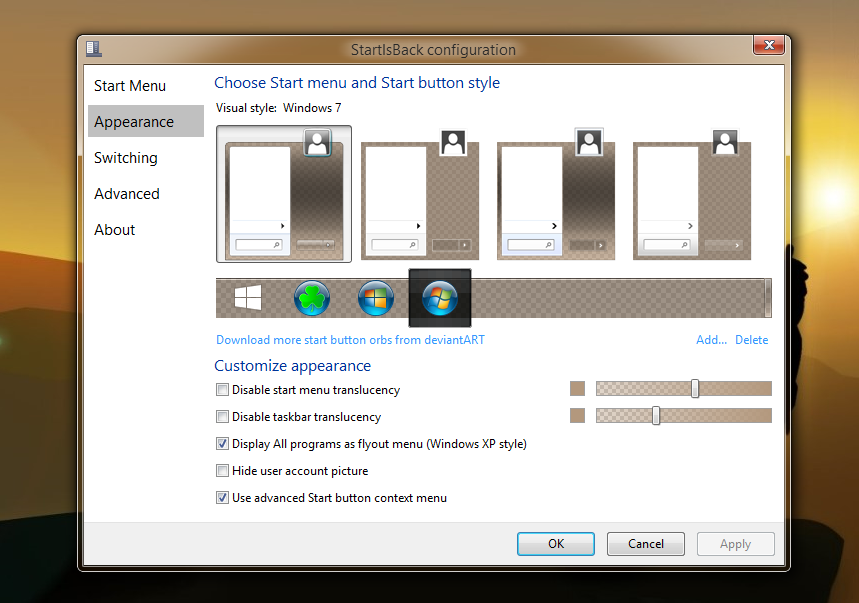
To edit settings of your Start Menu right click on the Start Icon and click on properties.
Now we’ll bring back the old look of Windows Explorer.
2: Bring Old Look of Windows Explorer
To do this, open the folder named “OldNewExplorer” and run the application named “OldNewExplorerCfg”. A window will open, make sure you only tick the boxes that you see in this picture.
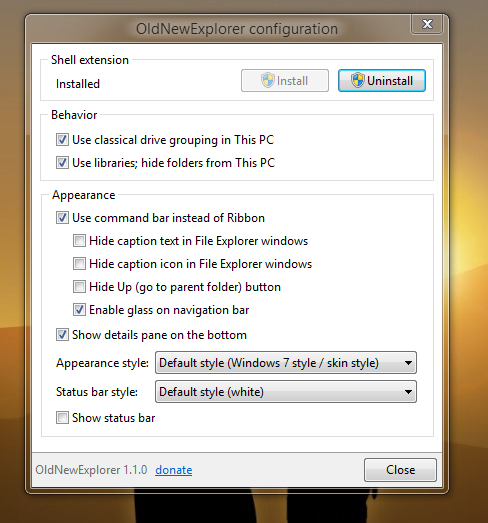
Once done, just hit the install button. After that open task manager and restart Windows Explorer.
Now we’ll bring the Transparent look of Windows 7 back.
3: Bring the Transparent Look Of Windows 7 Back
Open the Win8.1 AeroGlass and run the Aero Glass for Win 8.1. After that just restart your PC and you’ll have the transparent effect of Win 7.

Once the installation is complete restart your PC. Now run AeroGlassGUI from the same folder and select the exact same options.


Now just click on save and close this program.
If you are on a laptop then you’ll need to make some registry changes.
To do this, open Start Menu and type “regedit” and hit enter.
Now navigate to, HKEY_LOCAL_MACHINE > SOFTWARE > Microsoft > Windows > DWM and modify the the registry value of “DisableGlassOnBattery” to 1 to 0 by right-clicking on it.
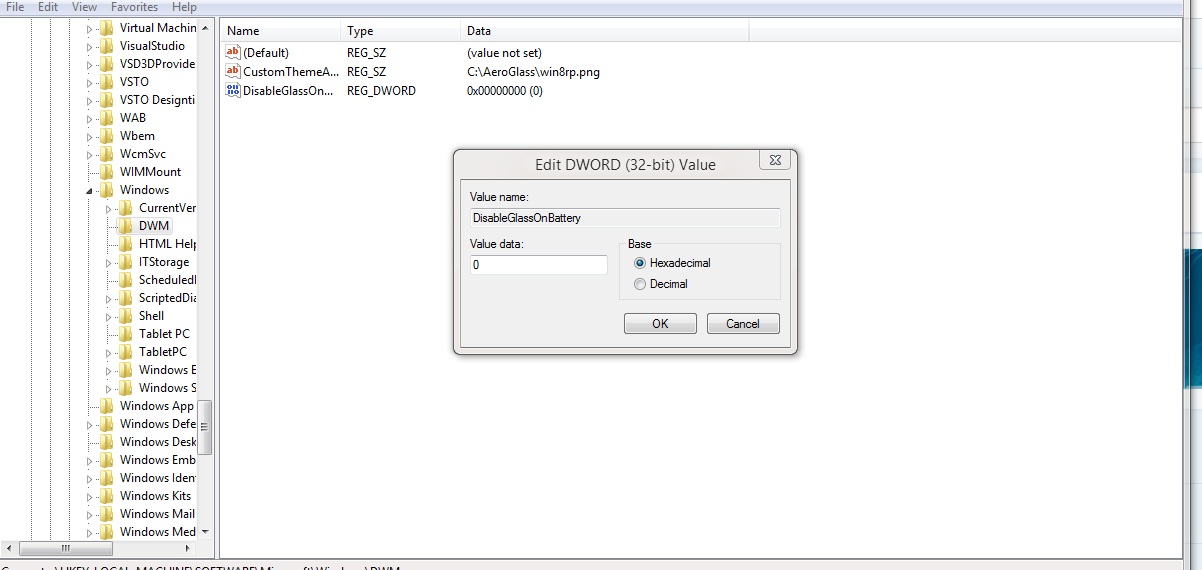
You might have to restart your PC after this.
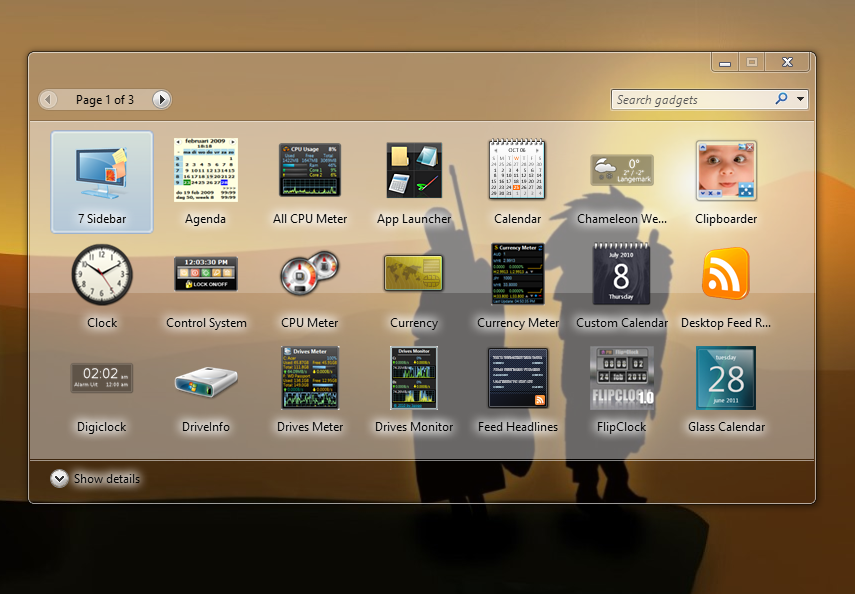
4: Bring Back Desktop Gadgets
It’s really simple just run the “8GadgetPackSetup” and install it, after that you’ll have Desktop Gadgets.
5: Apply Windows 7 Theme
Now comes the final step, we’ll apply Windows 7 theme to Windows 8/8.1.
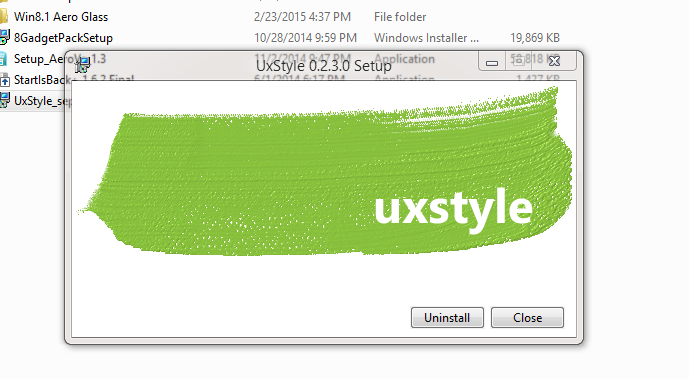
First install the UxTheme Patcher.
After this, install the “Setup_AeroVs _1.3”. Now right-click on desktop and click on personalize. You’ll see that you have new themes. Apply “Windows Aero Rounded [Default]”.
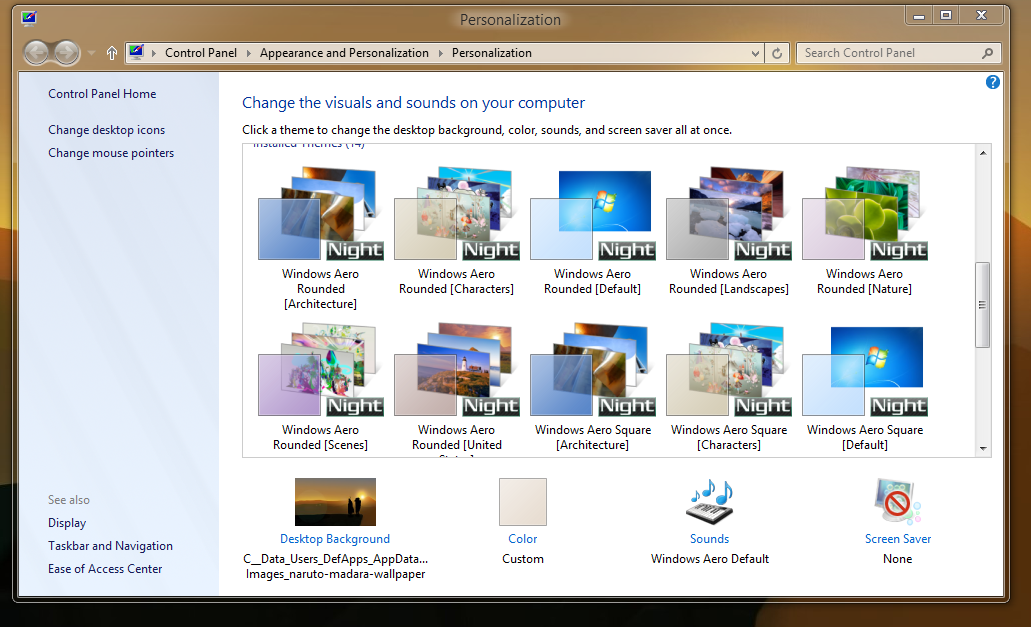
Once done, your Windows should look something like this.

That’s it guys, enjoy your Windows 7 looking Windows 8.
Know something that I should include in this post? Want to share something? Whatever it is, let me know in the comment.
